Sunday, June 3, 2012

Strawberry Love


As promised, here are the details on the gift that I made for my moms this year for Mother's Day.  This year was all about sweet juicy little strawberries.  Oh how I love a fresh picked strawberry.  The ones in the store taste nothing like the ones you can pick on a strawberry farm.


I can't wait to get back out there and pick those little gems this year, above is a picture of the strawberries in my parent's garden, my sister and I were picking out the ones that were ready to eat (we were eating them quicker than we could pick them).  I also finally convinced my 4 year old that strawberry jelly is not poisonous and will not kill him and in fact tastes quite delicious, it took a year but he now finally eats it without gagging (if you think I am joking, you are sadly mistaken).  That is one huge victory that I will take. I got to catch his gagging on camera because one day I will find it to be funny. Today is not that day. wink.


 Ok, back to the gift.  The moment I saw Papertrey Ink's Berry Basket Die, I knew exactly what I would be making the moms:  A strawberry gift basket filled with cards and gifts centered around strawberries.  I also knew it had to have a vintage feel to it once I saw Michell Wooderson's April Release Post.


I have never used digital scrapbook paper purchased online before but I decided to give it a try for this gift.  I scoured Etsy for hours for the perfect digital paper download until I came across this Ellah Rose Shabby Chic papers by Hellolovetoo and was instantly in love.     It is perfect.  It is simple.  I am definitely sold on downloading digital paper in the future. 


I made six cards for this gift.  Two birthday cards, two thank you cards, and two congrats cards.  Everyone always needs cards for these three occasions.  Here are the photos:


If you love the cards, you can buy them in my etsy shop, click here for all the sweet glorious details:  Vintage Rose and Strawberry Cards


In addition to the cards, I made the moms a small scrapbook in the same theme with the same paper that they could throw in their purse and use as a brag book for family and friends.  The book is filled with pictures of my son, printed in black and white (because it is so pretty with the paper) and the tags tell them when and where the picture was taken. Simple and cute.  You can't go wrong giving pictures to Grandma!


This little book is perfect for any occasion (and no occasion at all).  You can buy this cute little book from me for a STEAL in my etsy shop, click here for details:  Mini Vintage Scrapbook


 I'm off to go camping.  WOOT. WOOT.  See you soon!


Sunday, May 13, 2012

Happy Day


To all you women out there that are lucky enough to call yourself a mom, Happy Mother's Day!  I spent my day relaxing.  No, breakfast was not served in bed for me.  The two boys in this house never make it out of bed before me.  We had a: Nice. Quiet. Simple. Relaxing. Day.  It was really quite perfect.  I got a pair a bowling shoes (we have a summer bowling pass) and a ukelele.  Yeah, sounds a little weird but a uke has been on my wishlist for awhile now.  I played the trumpet for eight years and sang in choir in both high school and college so I'm really missing music in my life.  Now I just need to find someone to teach me how to play the darn thing (it seems a bit more complicated than a trumpet).  At least the dog didn't howl when I attempted to play the ukelele today.  Every time I whip out the trumpet (not often) he howls like the world is coming to an end.  I'd be insulted except he does the same thing when the phone rings and I know that isn't out of pitch.

 
I did find time to make myself a couple gifts today.  The first one was with the help of my four year old.  We made a cute little thumb print heart key chain.  Please don't think I'm a genius because I'm not.  I totally got the idea from centsationalgirl.  This is made from polymer clay.  You might remember a few months ago when I made some cute holiday ornaments with it.  My son loves helping with this stuff.  As you can see, I added his initials and the year to mine.  LOVE IT. 


My husband was also nice enough to entertain my son for a few hours while I taught myself how to sew a dart.  After learning my new skill, I promptly made four in my sweet new summer purse.


 I can't tell you how much I love my new purse.  It makes me smile big when I see it.  It is so stinkin' cute and I made it! I found the pattern at verypurpleperson for free!  The only modifications I made were adding an interior pocket and making my handles approximately 2 inches longer (SO glad I did that).


When I come back, I'll show you what I gifted the two moms in my life (can't show you till they receive it).  Here is a sneak peak:


 Till then, find something you enjoy and DO IT!  :)


Wednesday, May 9, 2012

Dinner: Brought to You By the Letters M & G


This meal was special.  It was the first meal of the season from My Garden!  Yep, you read that right! My. Garden.  Come on people, that is pretty impressive, it is only early May.  In Wisconsin.  I certainly deserve a pat on the back or nice high five.  Miracle worker?  Maybe. Ok, now even I am rolling my eyes.  I thank my good friend global warming for making this meal happen about a month early.  I also finally found a meal that my obnoxious precious four year old would eat (even if it was only five bites).  That in and of itself deserves a high five!

The original recipe is from my favorite foodie magazine, Everyday Food, April 2012 issue.  Love it.  I've been a subscriber for years.  In the last few months they got a new editor, Sarah Carey.  You may know her from the PBS Everyday Food show or from Martha Stewart's show.  She is the spunky red head.  I got to say, there has been a great improvement in the content of the issues.  I'm really digging this magazine full force again!  If it has been awhile since you've picked up this magazine, now is a good time. 

I adapted my recipe slightly but it holds pretty darn true to the original.  My way or their way, you won't lose with this meal.


Shrimp & Pasta with pesto (my way)


1 lb short pasta
1 lb shrimp (whatever is on sale).  Honestly, I bought the precooked cocktail ring jumbo shrimp because it was cheaper than the frozen raw shrimp.
1/2 lb fresh green beans
1 bunch parsley (whatever amount fills your food processor)
8 mint leaves
1/2 cup toasted almond pieces (pieces are cheaper people)
3/4 cup EVOO
Ricotta Cheese

While pasta cooks,  put parsley, mint, and almonds in your food processor.  Slowly add EVOO.  Season with S&P.   In the last couple of minutes that the pasta is cooking, add the green beans to the pot (with the pasta), cook for 2 or 3 minutes. Drain pasta and green beans and reserve 1/2 cup of the liquid from the pot.  Put pasta and green beans back in the pot and cover with the pesto.  Season with more S&P.  Let everyone dollop ricotta onto their serving. Serve with some nice crunchy garlic bread.  This will serve 5 to 6 people.

Oh yeah, and here is a link to the original (not that you need it):  Shrimp and penne with spring herb pesto from Martha and Everyday Foods. 


Tuesday, April 24, 2012

Superhero Mat


My sons 4th birthday has come and gone.  Good thing because planning for his party has consumed me for way longer than it should have but of course, I loved every minute of the planning.  Part of that planning was his gift.  He has been obsessed with superheros for the last few months now and I wanted to give him a special gift, what I came up with is a superhero roll up play mat.

I was originally going to make him a mat for some matchbox cars.  I spotted this project a few months ago at Homemade by Jill (go check out her blog, she has some great posts on there). 

Homemade By Jill Blog

Ever since spying this little cutie it has been on my wishlist to complete, it was actually on my long list of holiday items that I was going to make and gift but sadly I ran out of time before it ever got made.

This ended up being a good thing, because my little wheels started turning and this car cozy turned into a need for a superhero mat (to tie into his birthday theme).  So after some searching on the internet, I found a few projects that were close to the idea that I had brewing in my brain and gave me some inspiration to create my own version.

Check out my inspiration:

Morgan's Bubble

Justamama Etsy Shop
So those turned into this:
wait for it

wait for it

a little longer

TA-DA!

It holds my son's superheros perfectly (and what boy wouldn't love that?).  The bottom is pockets for all those 3.75" action figures and the whole thing rolls up nicely for easy transportation.   

The whole gang was out to play


Kaboom...pow....I got you


I'll get you bad guys


All safe and snug in their little pockets

I hope you love it as much as I do.  I'm so happy I took that sewing class and I'm putting those new skills to good use!  If you love it, you can buy it!  You can check it out on my etsy shop:  http://www.etsy.com/listing/97841932/superhero-roll-up-mat

Thanks for stopping by today!


Sunday, April 8, 2012

Superhero Party


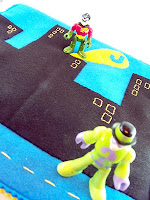
Our sweet little boy turned 4 years old a couple of weeks ago (he's the one in yellow) and I wanted to throw him a party like no other, mainly to make up for his terrible birthday last year, see here:  Happy Birthday Badge.  Thank goodness we haven't had a repeat of that mess (knocking very loudly on wood right now)!

He has been obsessed with superheros for the last few months now and I thought I would run with his current obsession and make a party out of it.  Everything from the invitations to the presents were all focused around superheros.  He had a blast and I thought I would share some of the ideas I came up with (and some I borrowed, thank you world wide web).

 Invitations

It all started with the invitations.  These helped everyone else know what the theme would be.


I bought these acrylic stamps at Micheal's a few years ago, I don't even remember who makes them and I don't if they are available anymore.  I use them all the time for boy's birthday cards.   The quality isn't as nice as Papertrey Ink but I just love the design of the set for its versatility. 

Party Decorations

I wanted to use bold bright primary colors and I wanted to avoid as much characterized supplies as possible (sorry Marvel).  Enter Target's party supply isle.  They had exactly everything I was looking for; from plates, plastic forks, tablecloths, and paper comb decorations, they had it all.  It was all pretty cheap too. I cut a couple of table clothes in half and paired them together for more color.  My husband can attest to the fact that I spend more time than any one person should in this isle looking for just the combinations of colors....he would have picked them in about five seconds flat. 


The buildings sitting on my free standing buffet were made using cardboard boxes that I dug out of the dumpsters. YEP, I. went. dumpster. diving.  My son will never fully understand my love for him. Haha.  I spray painted them with a couple coats of spray paint (the color name was "stone"), and used packing tape to adhere black card stock on the fronts to look like windows.  The building on my built in buffet was made similarly using a roll of plain white wrapping paper.


The banner was made using old comic books from a used bookstore, yellow and red card stock, and Papertrey Ink's Boxy Dies.   This is so cute and comes together fairly quickly.  Word of caution, there are LOTS of inappropriate language and pictures in comic books (at least for 4 year olds) so be conscientious of what images you cut out! 


This all came together pretty fast thanks to some girl power (thanks Polina). I love this banner, if you like it too, head over to my etsy shop, I have it up for sale here:  Superhero Banner

Games

What superhero party would be complete without superhero games?  None, of course.   The kids had to walk over "hot lava" to earn their superhero masks.  This was done using two large pots, a 2-by-4 piece of wood, and a red blanket on the ground.  They had to walk across the beam without landing in the hot lava to earn their reward for their heroism.  

 
I made the masks with a simple mask template that I found on Living Locurto.


These come together pretty fast.  I cut out the top color using the template and then traced out a larger one behind it in a coordinating color of felt.  I sewed the two pieces together using a decorative zig zag stitch on the outside and around the eyes.  Finally, I hole punched two holes on each side and strung elastic through the holes and sewed the elastic together (I'm sure you could knot them too).  The kids really liked wearing these (even the little ones). 


To earn their capes, the kids had to defuse "bombs" before the bad guys destroyed the birthday party.  The bombs were just little black balloons blown up and thrown all over the yard.  Thank goodness we have a fenced in yard because these suckers blew everywhere.  The kids loved this game.  I had the parents following behind and picking up all the broken balloon pieces so the kids (and our dog) wouldn't eat them.    


We also played "Kyptonite Toss", think hot potato.  That game was for candy.  Beware, kids get distracted when candy comes out!  We made that game quick.


We also tied up the bad guys with toilet paper.  All the adult males in attendance were good sports. Apparently Grandpa (my dad, doesn't he look just like me) didn't get the memo about wearing a blue t-shirt (just kidding, the other guys coordinated by pure luck).  


We also caught these same bad guys with "Spiderman's web" (aka silly string).  The kids had a hard time getting the web to come out of the cans with their little fingers but they sure had fun trying! Oh yeah, I helped too, you can see what bad guy I wanted to catch.

Food

After the games were over (and the candy was hidden), we went inside to EAT!  We had sloppy Joe's (they are called sloppy Johnathan's in this house), mac & cheese, veggies, fruit salad, punch, and lots of cake!


See my shirt in the picture (in the lower left corner)?  It is the aVEGers (haha), yes, even I dressed in theme.  


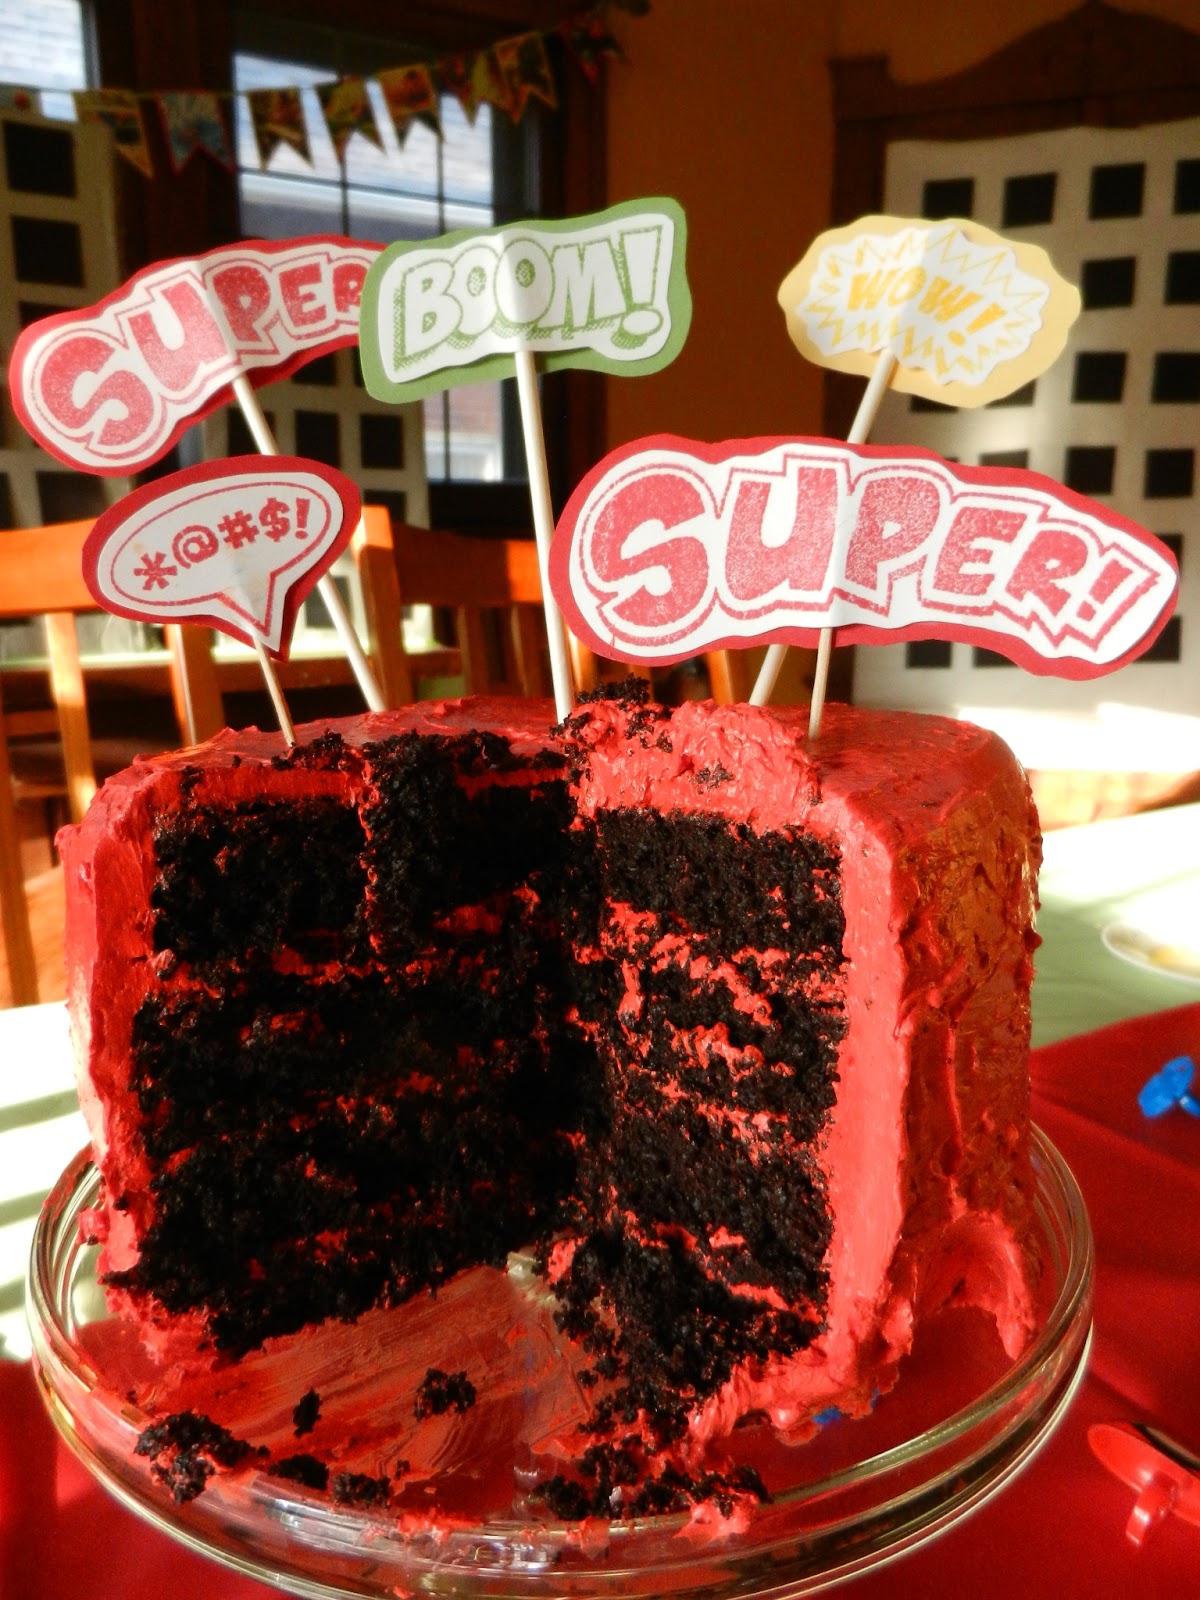
The cake was delicious.  I have definitely found my go to chocolate cake recipe.  I found it at Mel's Kitchen Cafe: Unbelievable Chocolate Cake.  You all already know how much I love her site.  I covered it in rich delicious vanilla buttercream frosting.  I always use Martha Stewart's recipe for Buttercream Frosting.  The decorations were made using the same stamps from his invitations and we just used toothpicks for the small cupcakes and candy sticks for the big cakes.


Gifts

After gift opening, the kids walked away with a gift bag filled with superhero toys (thank you Target dollar spot).  I used some more of those comic books and taped them onto the bags (girl power again, thank you Polina). 


A good time was had by all but I'm glad it is all over.  This party took me more time to plan and prepare for than I would care to admit here but I'd do it all over again.  My little guy had a great time and that is all that really matters at the end of the day.  


We were all pretty pooped the rest of the day.  Even the dog needed a nap!


 My next post will be all about the gift that I made for him, of course it was superhero related.  Here is a little sneak peak.  I'll keep you in suspense as to what this could be.


 Till next time.  Peace.