

Well it is official. My baby is NO.LONGER.A.BABY (insert teary eyes here). A couple weeks ago we had a few family and friends over to celebrate his big day.

It turns out he is a fan of cake (duh). The bigger the piece the better! He literally ate an adult sized piece of chocolate cake with buttercream frosting. Hey, you only turn one once you know!

His big brother gave him a toy Bert from Sesame Street (get it, Robert=Bert). He also drew him this adorable picture. The top reads, "Happy Birthday". It is a picture of the four of us in front of the house on a nice sunshiny day (oh how I miss sunshiny days).

I went for an airplane theme for his birthday because that was the theme of his birth announcements and I'm still diggin' the theme. I tried to keep everything simple. For example, that's just blue wrapping paper with clouds cut free hand from copy paper taped to our built in china hutch. The highchair banner was the perfect little touch. I used PTI's boxy banners die, this is by far the most used die in my collection but more on that in a different post.

I did something very similar to the hutch above our buffet by using a big cardboard box for stability. Excuse the glare, I'm by no means a professional photography and had way more important things going on that day! My hubby made the paper airplanes that hung from a string from our curtain rod to make it look like they were "flying".
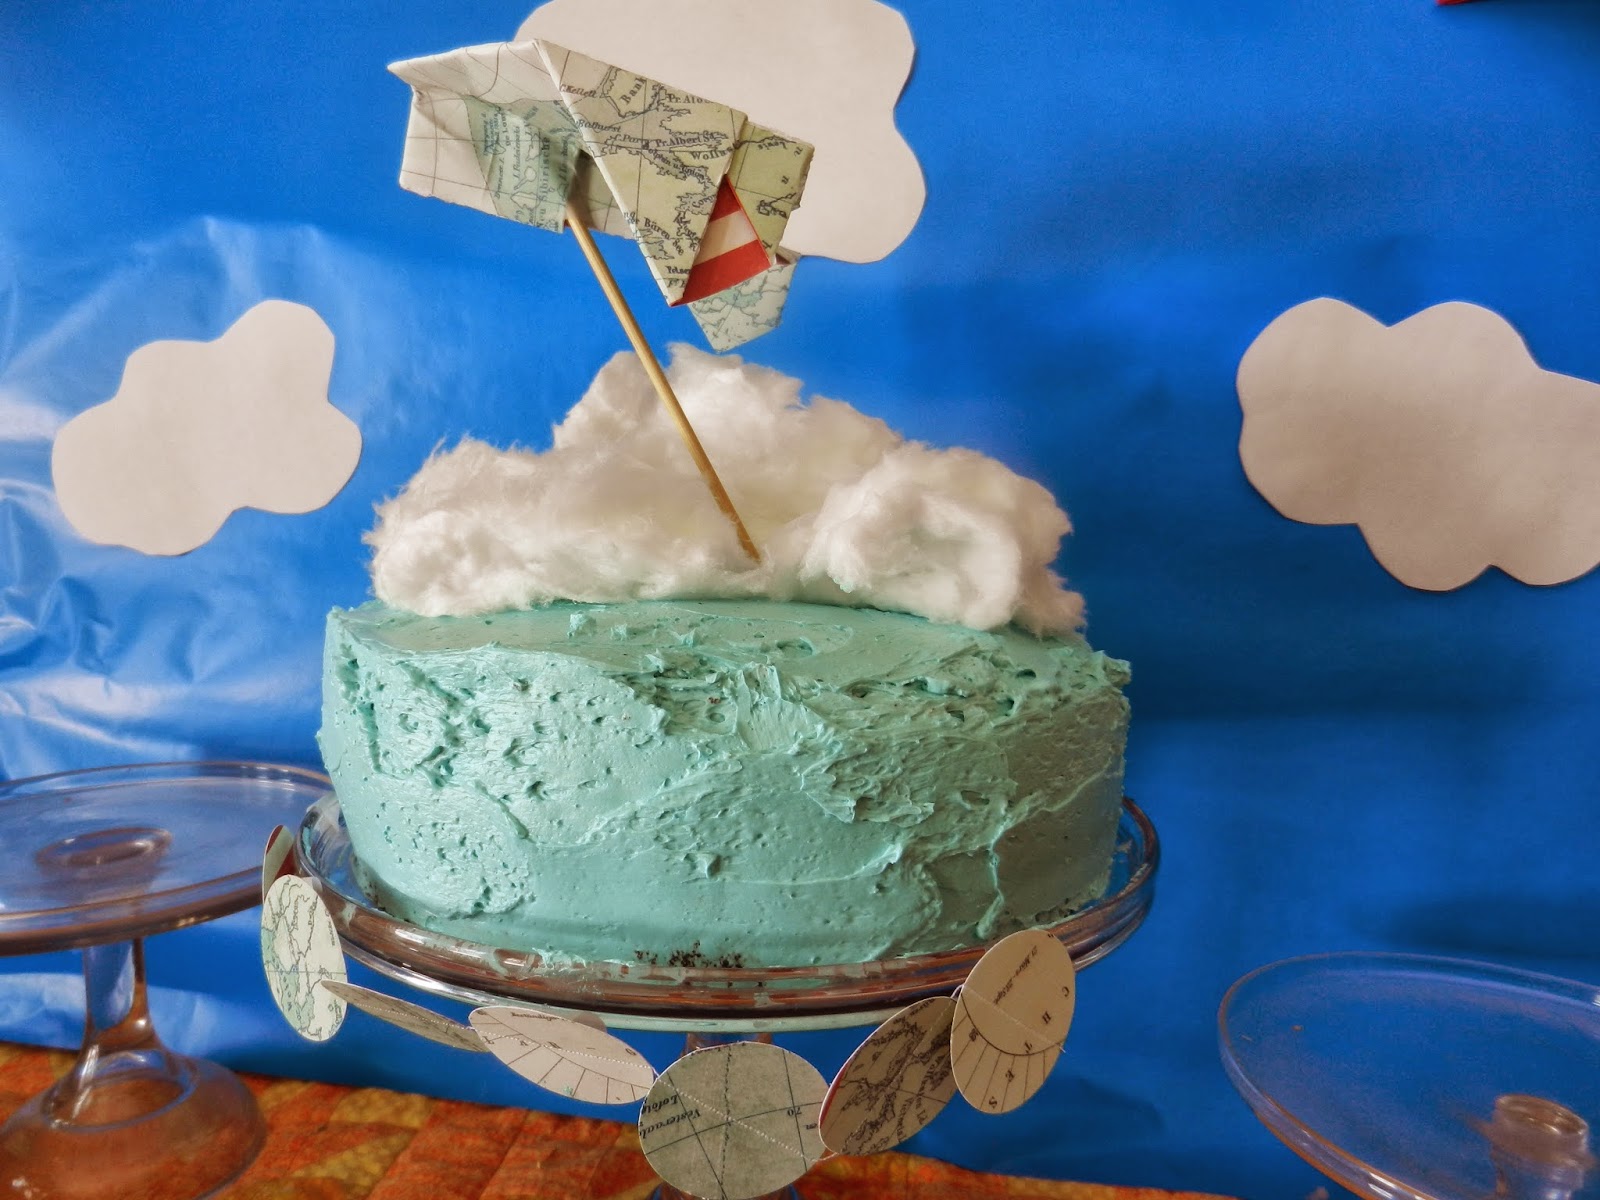
Here's the cake in all its chocolatey goodness. This cake is to die for! I've posted about it before and it is my go-to chocolate cake recipe. You can find all the details on Mel's Kitchen Cafe.

I always use Martha Stewart's Swiss buttercream frosting recipe with gell food coloring that I get from a local baking shop.

The "clouds" on the cake are just white cotton candy. I purchased white cotton candy online through oriental trading company.

Again, my hubby made this paper airplane as well. We just used a skewer to keep it in place.

I made this cute month to month banner that I have yet to take down because I just love it.

Is it socially acceptable if I just keep this up always on my mantel? To be honest, I haven't taken down any of his birthday decorations yet so I don't know who I'm trying to fool. Johnathan turns six next week, I promised myself I would take them down before then.

The little round banner was fun to make. Johnathan helped me create all the banners. We just hole punched with a 1.5 inch circle punch and sewed a bazillion of them together. They actually are a really quick project! Just use a straight stitch on your sewing machine. It doesn't require anything fancy. A quick search on the internet and you will see these circle banners EVERYWHERE! I'm cool like that.

I used PTI's boxy banners to create the disgustingly cute baby picture banner in case you were wondering and wanted to re-create one yourself. Of course, I'd always be willing to make you one through my etsy shop.

The numbers also came from a PTI Die set. The cute baby was not included with any of those die purchases. You need to get your own cute baby people. No borrowing!


He is all smiles after eating a huge helping of lasagna for lunch, followed by his favorite after dinner drink.

Keeping it simple was definitely key.

Yummy cake helped too!

Here's the whole gang.

Here's the birthday boy getting help opening his presents from his two big helpers.
Tip for all working mommas out there: have your party on a Sunday so you have Saturday to clean and cook like a mad woman, this was the first year I picked a Sunday instead of a Saturday and it worked out beautifully and saved me a Friday vacation day for another time. Because who likes to burn a vacation day to clean their house? I sure don't!
Speaking of cleaning. I have a disgusting house to clean this weekend before my other guy turns six and has his camping themed birthday party next week!
I'll be back with more then (if not before)! See yeah!