
For the past couple of years I have turned this into a card class and have invited women to my house to complete the class and gift the item away to their loved ones, it has become a popular class.
This post will show you the details of this year's calendar page by page. I don't plan on going into detail as to where I bought my supplies from so if you see something you like and want to get it for yourself, please contact me and I will be happy to supply you the information.

Here is the cover. I keep is real simple since this page is not really seen (except when my MIL initially opens the gift at Christmas). You can see the water damage in the corner, this is the risk I take when using my original projects in a card class, I'll fix this somehow before gifting it to her.

I try to keep the picture sizes at 4X6, it makes my life a little easier as the year goes on to not have to worry about special sized pictures (I email or mail her a picture each month rather than filling them in before gifting it to her). If you complete a project like this, you will want to decide if you want to fill it before gifting it or send them pictures throughout the year. I like to send her pictures throughout the year so she has a current picture of both the boys each month (and there is some excitement in getting a new picture each month!). Since they are so young, they grow so fast and pre-filling it would give her fairly outdated pictures of them (esp the 1 year old).

I'm still crazy about buying all my paper as digital files from etsy. It is just so much easier to print paper on demand rather than buy sheets as needed from a store.

You can see I like to use a mix of die cuts and stamps on most pages but sometimes I improvise, which is the case with this very large shamrock.

Some pages are more simple than others.

This page uses a lot of washi tape, This is a fun way to get rid of scrap pieces of washi, ribbon, or scrapbook paper you have laying around and don't know what to do with it!

A closer shot so you can see the month "May" die cut in the corner.

Here is cute page, but ugh, if you are making this for 15 people and die cutting the pieces out for them, you will be kicking yourself over the cones and vanilla ice cream scopes! For those that just bought a make and take from me, they were sent home with a stamped image of these two items and they will need to cut them out the old fashioned way (with a scissors). Sorry girls, but I'd still be running these pieces through my machine if I did that!

Can't wait to fill this one with a cute picture of the boys all decked out for the fourth of July!

Some designs get a little tricky, this one for instance, you do not want to glue the tops of the "picture frames" down so that the recipient can slide the picture into the page. If you are pre-filling the pictures in for them, of course this is not an issue.

A little closer shot of this page. This page just screams summertime!

Here is September's page, I am going to have my son write his name on this before gifting it, I thought seeing his penmanship on a page is a nice special touch that my MIL will love.

Halloween pages are my favorite, I love all the cute little stamps of ghosts, witches, and pumpkins that are out on the market.

Fall in general is a favorite of mine, I love the nice warm colors. It is also my favorite season. What's not to love: Packers, crisp cool air, and yummy warm casseroles.

And of course last but not least, December. Always a fun month to decorate!
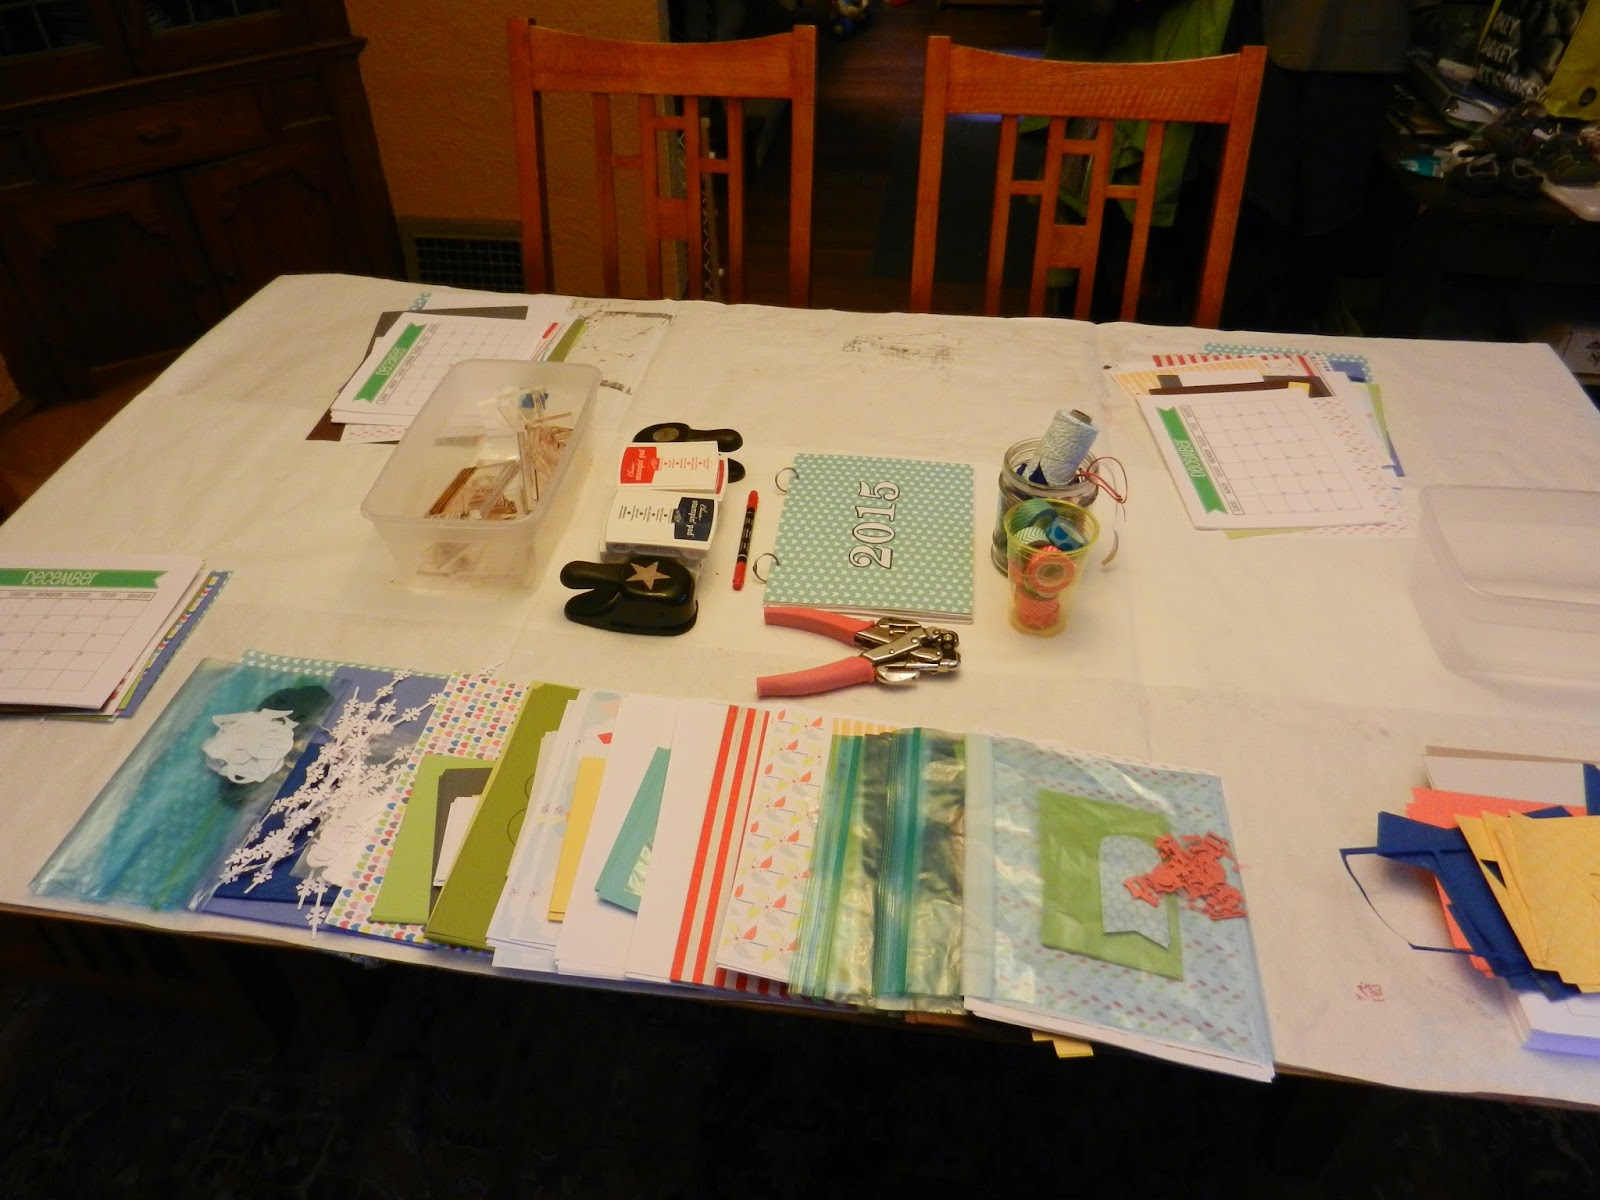
Here is a picture of my class all set up. It happens right in my dining room. This is set up for 3 people with me working on one side setting up 10 make and takes. Lots and lots of make and takes this month!
Well, there are all the details. For those of you that ordered a make and take from me, this should give you enough detail to start gluing those pages together! If not, ask and I am more than willing to help.
If you are looking to complete a similar project and want to know where I got my supplies, comment below or send me an email and I will be more than happy to help.
Happy crafting everyone!
*All stamps and dies came from Papertrey Ink.
No comments:
Post a Comment