Thursday, December 19, 2013

Christmas Card 2013 Details


Here's my 2013 Holiday Card.  I got to tell you, I had some serious doubts that this was going to get done and in the mail before Santa came.  With two kids and one less week between Thanksgiving and Christmas, I almost ran out of time.  


I'm happy to report, I made it.  I made it with only a couple of days to spare before the big guy got here.  Way closer than I would prefer but I made it none the less.  


I made this using Papertrey Ink's Instant Photo Pull Out die, released back in September.  When I saw this die, I KNEW it was going to be used for this year's card.  It helps bring your cards together in a snap!


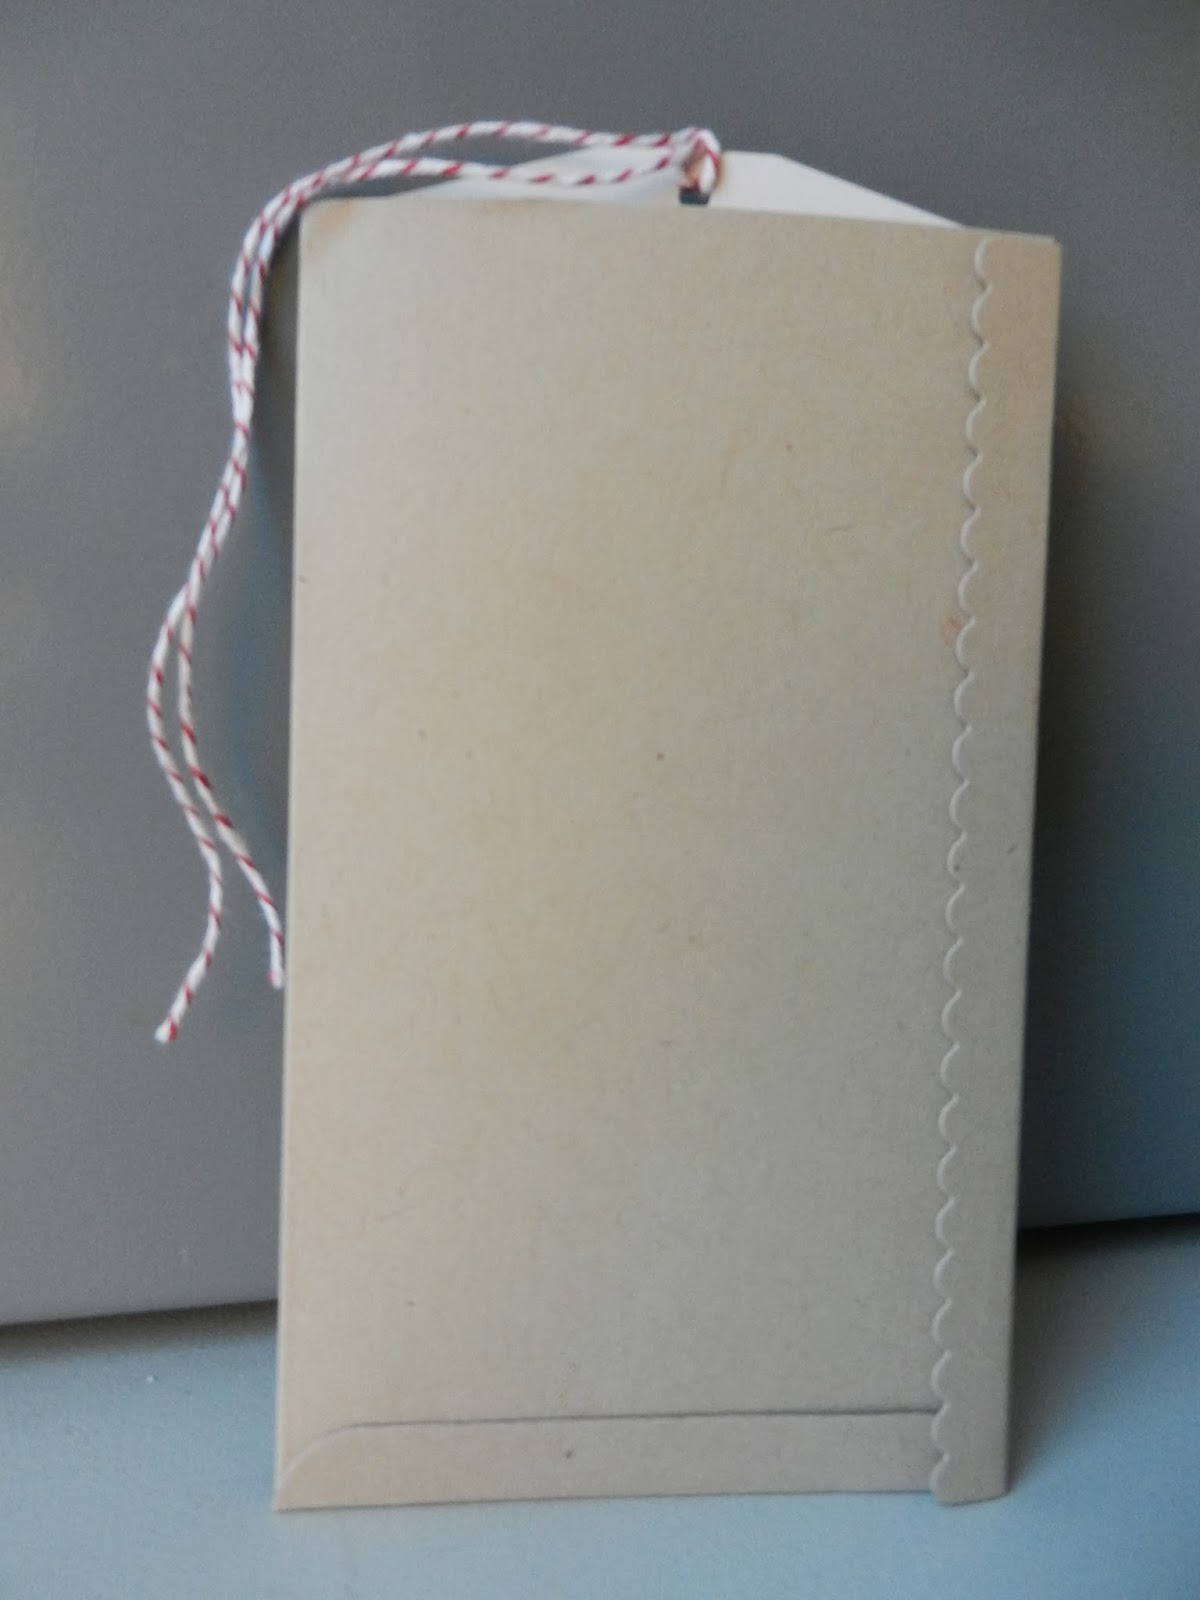
Look!  Even the back of the card is pretty.  


This year I typed my sentiment up and printed them on the computer, then ran it through my die machine.  This saved me a TON of time, and I need all the time I can beg, borrow, or steal!   Aren't these two boys sitting on Santa's lap just the cutest human beings you've ever seen?  I think so, but I know I'm biased. 


I had plans to go all fancy on this and use embossing powder to emboss the front image.  I'm so glad I talked myself out of that thought, I'd be working on these cards till next Christmas had I decided to follow through on that wonderful (but dumb) idea.   Maybe someday when the house is empty and I go back to making cards about my cats :)


 I did work in a little fun though.  I've been wanting to use a QR code on a card for a couple of years now and I finally did it this year.  For those of you that don't know what a QR code is, your smart phone or tablet can scan this code and it will jump the reader to a website for more info.  You have to download a QR Code Reader, you can get plenty of them for free.


Instead of adding our family "Top 10 List" this year, I had the QR code take the recipient to a hidden page on my blog where I wrote up a post all about our experiences this past year.  With a new baby, a top 10 list just didn't seem to cut it....i.e., this bragging momma has a lot to talk about :) Your smart phone might be "smart" enough to scan this bar code right on your computer screen, try it!  Mine did!  If not, you can find the details  of the hidden blog page by clicking the list below. TRUST ME, you want to check this out, little Robbie dances to Christmas music.  Nobody can resist a baby dancing to Christmas music!  

CLICK HERE FOR MY CHRISTMAS CARD LINK!


Merry Christmas everyone and Happy Holidays!

Monday, December 16, 2013

Holiday Crafts 2013


'Tis the season, right?  I know, the blog has been pretty quiet, but I promise it isn't because I haven't been crafting.  Quite the opposite really.  I'm struggling to get everything done this year and I'm taking things day by day! Literally, DAY BY DAY.  Today's "to do" list includes getting these pictures posted from my holiday card class. Hopefully if you need some last minute ideas for small gifts for co-workers, friends, or neighbors, this post will give you some ideas.


This glassine bag is an envelope for a little treat or a gift card.  Or both!  You pick.   If you keep up with crafting blogs, you will see that this mimics a lot of the cards and scrapbook pages out their right now.  It is a light whimsy style.  It really doesn't reflect anything I would come up with on my own free will.  I used this PTI Make IT Monday project as inspiration.  Really, I almost copied Danielle's design and I only made minor tweaks.  I think the more and more I work with the whimsy style, the more natural it will become. Here is a link to her Whimsy pinterest board, I found this board really  helpful in get the creative juices flowing:  Dflanders Modern Whimsy Pinterest Board.   


Next up, a hot cocoa gift.  This is always a favorite gift this time of year.  Stampin' Up had this tag as a digital give away a couple years ago and it finally came in handy.  Thanks for the digital grab Stampin' Up!  It reads, "Even naughty people deserve something nice".  So true :)


The top was finished with some Papertrey Ink stamps, "stir, sip, & enjoy".  The hot cocoa mix recipe is pretty good and can be found on Snap.  It makes a TON!  We're currently drinking the mix without the candy canes added, we'll be adding candy canes next time!


Oh, and a fun little buy this past month was Papertrey Ink's new coffee cozy die.  I haven't decided yet if it is worth the effort.  Did anyone else buy one?  What are your thoughts?


I do like that the die had these coordinating little pieces to it but I almost think this was more work then just using my sewing machine and cutting out a pattern and sewing it up.  I'd been interested to know what other's think of this die. 


Inside the mug I hid some hot cocoa and some little Ghirardelli Chocolates.  A Starbucks' gift card would also fit inside if you are looking to make this an even bigger gift for the recipient on your list. 


Not a lot of instruction is needed with this next project.  This wine tag is perfect for the hostess in your life.  I used the wine tag die from PTI.  If you remember, this sucker got a lot of use this summer for my sister's bridal shower.  I love this die, it always makes a quick and easy gift and can be customized for any occasion.  


Here is a close up of a fun little technique to make the tag a little bit more three dimensional, just two folds a quarter of an inch apart on each end with your bone folder will give this tag a little more substance. 


Oh, I'm in love with this fun little poinsettia pin.    I cut out two of each of the pieces from the poinsettia die and hot glued all the pieces together (very carefully, that glue gun gets super hot). 


I found these pretty gems at a local scrapbook store and glued it to the center.  I added two die cut leaves (you really could probably free hand cut these out).


I hot glued a pin to the back but this would also be super cute attached to an elastic band for a little baby girl's hair piece.  No baby girls in this household so this one is "sticking" as a pin. 


This gift box is a super giant pain in the butt (wastes a lot of paper in my opinion) but I like the finished results and I already bought the template so I might as well get some use out of it. 


I hid an ornament filled with alcohol inside this box.  Oh fun idea:  I ran all my scrap paper that was going into the garbage through my paper shredder and used it as filler inside the box.  What can I say, I'm a recycler.  


Here's a close up of the ornament.  Yes, the drink actually has the alcohol already in it and is READY.TO.DRINK.  I found them at Sam's club just recently so if you hurry there, you might still be able to grab some this holiday season. 

Well hopefully you see something in today's post that gives you some inspiration to get a little crafty this holiday season!  See you all soon!  PROMISE! 

Monday, November 11, 2013

Santa's On His Way

Well folks, it happened. Here in Milwaukee we saw our first snowflakes of the year today. Ugh. It is only mid-November. While I'm not a big fan of snow, it is pretty unavoidable around these parts so it only seems fitting to embrace it and post my first Christmas cards for this holiday season. Yeah, that's right, be in denial if you would like but the big man is on his way!
I spent what little free time I had this weekend crafting cards for my November card class. Each card design would normally take me one-two hours each but with an active 8 month old (and a sassy 5 year old), each card takes an eternity. Of course, I keep doing it because I love it....it just takes a bit longer these days!
This first card is perfect for all you out there just as busy as myself. This card takes 5 minutes flat to make and shows of your favorite photo at the same time. I. Love. It. Just glue your favorite 4x6 photo onto card stock and BAM you got yourself a card!
The joy sentiments is from PTI's One Liners die collection. You could also choose the words peace or love. Hey, go crazy, and use all three. I cut it from some sparkly red card stock to make it extra festive.
I made this one as a postcard but it can easily be made into an A2 card if that is more your thing. Either way, everyone will love your holiday card that took you no time to make.


This pretty poinsettia card pairs my favorite holiday colors together: red, white, and grey. A pretty little jewel finishes the flower. Don't stress the Doily die, I just left all the negative pieces on and it still looks great, feel free to punch them out if your are obsessive!
I'm so happy bakery's twine is still trendy....it is a staple in my craft room.
Oh, and my favorite card, Merry & Bright. So simple but so fantastically festive.
I am going to be using this confetti garland die from PTI over and over again this holiday season.
This peace and love card takes advantage of the ever so popular chevron pattern. The two tone green really makes a subtle pop and lays the foundation for a classic card.
I used gold embossing powder on the acorns to give this card even more wow.
And last (but not least), this collage card is cute, cute, cute. I love the colors! This is digital paper that I bought on Etsy. I have plans to use this for a holiday candy recipe book (someday when the kids are out of my house) but in the mean time it is being used in this lovely card.

Well, that's all for now. I'm exhausted and Christmas is still a good six weeks away!


Sunday, November 10, 2013

Halloween 2013


Well another Halloween has come and gone.  I'd say it was another successful year with making the boys' costumes, although I wasn't sure about that until the day of treat or treating.  This second baby is kicking.my.butt.  I have zero free time and my "to do" list is a mile long.  As I check one item off, two more get added.  I wasn't sure I would have time to pull these costumes off before treat day.


Main Content Image

Since last Halloween, Johnathan has been wanting to go as a ninja.  I really wasn't too keen on that idea.  I had no idea how I was going to make a "home made" ninja, and after all, his Halloween costume is all about me and what I can make and not what he wants to be....silly silly boy.  Each month, Johnathan would remind me how he wanted to be a ninja, and each month that went by I kept waiting for him to change his mind.  He never did.  Luckily though, he morphed a little, he went from wanting to be a ninja to wanting to be a ninjago (Lego ninja for those of you not into 5 year old boy cartoons).  Ninjago, now we're talking, I can work with a Lego ninja.     


So with a little help from my good friend pinterest, I cut myself a box and spray painted it bright red.  I traced a picture of the dragon onto the box and painted it with gold paint.  Finding the dragon image was the most difficult part of this whole project.  I used this dragon coloring page and had my hubby blow it up to the size I needed (don't ask me how, as I see it, this is one of my few benefits of being married, free tech support).  I free hand drew the eye on to the head with black paint.  Isn't this the cutest scariest (TOOTHLESS!!!!) dragon you have ever seen?  Oops, I forgot the teeth!  Luckily he never said one peep about his toothless dragon, he was too busy being a ninja (with his cute little dinosaur treat bag), even ninja's have mommies.


Oh and cute little Robbie.  Don't you just want to squeeze him?  I wasn't very excited about making a costume for him, I'm not sure why.  Maybe it was the work?  I mean, all this work to make a costume and the kid isn't even going to get me any candy.  What a waste.  But then, I thought of the most perfect little costume for my little pumpkin, a little gnome with a little red gnome hat.  Sometimes, (just sometimes) the picture I have in my little brain of my craft project turns out just like I imagined it in my brain, this was the ONE time.


Oh my goodness.  Look at that glare.  He glared like this the whole day.  I don't think he was as trilled about his costume as I was.  Someday when he is older I picture him finding this picture of himself and going, "oh yeah, I remember this day, this is the day I started to hate you".  Oh my little Robbie, certainly I hope that isn't true.  His costume was all about re-using and re-purposing. I didn't want to spend a single second making anything for him that I couldn't later use.  Therefore, everything had a dual purpose.  I made the hat and beard and the rest of his outfit was already in his dresser drawers.    His "beard" is also a bib (because we can always use more bibs).  I sewed it using the pattern I found over on Bit-O-Me.  It took about two hours to make.  If I wouldn't  have had an argument with my sewing machine, it probably only would have taken about an hour.  

Ericka: 0 Sewing Machine: 1 


I recovered a bit from the bib argument with my sewing machine because the hat (with the help of this tutorial over at Acorn Pies) took me 10 minutes flat.  NO JOKE!  It probably helped that it only had ONE SEW LINE.

Ericka: 1  Sewing Machine: 1


The kid's were not the only ones that had fun this year.  For the first time ever, my hubby and I dressed up as well.  Him as Drew Carey (natural) and me as Megan (Melissa McCarthy) from Bridesmaid's.  We had a lot of fun. He kept telling everyone he was "fat Drew Carey", I really think he should have said, "cute Drew Carey" (and no, I'm not kissing up, he doesn't read my blog).  I know I'm right, my hubby keeps getting cuter and cuter with age.  We just celebrated our 9th wedding anniversary this week.  I love you honey (just in case he does read this)!

Now that Halloween is behind us and the weather is cooler, my focus has turned back to stamping and creating cards.  Oh how I have missed thee.  I'll be back later with a look at some holiday cards I'll be offering this year.  See you soon! 


Sunday, October 13, 2013

Super Quick Snack Review


I recently joined influenster. Influenster and Sargento cheese were kind enough to send me a voucher for free cheese (up to $4). Thanks to a great sale at my grocery store, I was able to score a whole POUND of shredded cheddar cheese. SCORE! In return for the free product, I agreed to write a review of their product so here it is:
I. Love. Cheese. It's true. I really fit the Wisconsin cheesehead stereotype and proud of it. What's not to love? Cheese makes everything taste better, especially when it is made right here in the dairy state.
I used my pound of shredded cheddar to make a great batch of cheesy enchiladas...not at all authentic Mexican but delicious all the same.
Pictured above is my 5 year olds favorite snack, string cheese and an apple. This is his mom's favorite snack too because it is quick, delicious, and healthy. Sargento's string cheese makes snacking easy.
Maybe in an upcoming post I'll review my other Wisconsin favorite (you know to keep the stereotype going):
BEER. BEER. BEER.
Till next time!


#ChooseSargentoCheese hashtag


Tuesday, September 3, 2013

Baby Gifts for Girls


Last week I showed you some cute burp cloths I made for friend who had a baby in April.  This post is about the gift I gave to my friend who had her baby girl in March (just 3 days after me).  

When Papertrey Ink came out with these cute barrette cover dies,  I just HAD TO HAVE THEM.  The possibilities are endless.  Barrettes, hair bands, shoes clips, oh the possibilities are endless.  They make for great gifts too!  So when one of my friends had a baby in March, a cute baby girl with lots of hair, I took advantage and made these cute clips.  Being the mom of two boys, crafting for girls is a welcomed change.  Let's face it, crafty for girls is WAY more fun!


To make it even easier, PTI has a Boutique Accessory Die so that you can package your finished barrettes nice and pretty.   I love these, they make me yearn for a little girl but having a baby just for the fun crafts is probably not the wisest of choices.  

  
Still though, it is tempting.  I don't hold much hope that my boys will want to scrapbook or craft with me as they get older.  Oh well, I guess that is what sisters are for.......have girl babies (and crafting I guess).

I paired these with a cute coordinating outfit I found at Target but I forgot to snap a pic (darn!).  

If you love these as much as I do, head over to my etsy shop and I'll make you a set in any color.  I'll offer more options on my shop some day (some day when I'm not breastfeeding a baby) until then this is what you get.  Of course, you can always message me, I'm willing to do ALMOST anything. 

Monday, August 26, 2013

Working Momma


I’ve said it before and I’ll say it again, my boys are the cutest.  Yes, that’s right: THE CUTEST.  I know, I know, every mom thinks that about their own kids (and hubby).  I just started my busiest time of year at work and I only have a sliver of free time when we get done with dinner, dishes, bathes, etc.  Not fun.  I’m exhausted.  I went to bed last night at 8:45p.  Yep, 8:45p.  I apologized to my hubby for my tiredness, I felt bad that we didn't have time to talk, he replied, “Our marriage is better that way”.  Ha ha, but seriously, he also replied, “go to bed, you’re tired, I know you have to get up in the middle of the night to feed Robert”.  Ok, that doesn’t sound sweet, but it was really super sweet (especially for my non-gushy hubby) and exactly what I needed to hear.  This has been our life for a while now, me passed out on the couch before dark. I’m sure my hubby is secretly in seventh heaven at night having the house to himself.  


While we are just smitten with our newest little baby (he turned 6 months old today!) I have friends that are just as smitten with their own new arrivals.  In one of my social circles I was the start of the baby rush this year with my little guy being born in February followed by three of my friends having their babies each in March, April, and May!  Followed by another earlier this month.  Can you believe it?  Four babies in four months!  Five in 6 months!  So much fun!  The other four babies were girls. All girls!


You know, babies = baby gifts!  Lots and lots of cute baby gifts.  I thought I would share some of the gifts that I made for my friends and their newest family additions.  First up are burp clothes.  All first time moms need burp clothes.  I already wrote about how much I HATED my burp clothes the first time around.  The store bought clothes just don’t cut it.  They are small, awkwardly shaped, and non-absorbent.  I showed you the ones that I made for my new baby in THE LITTLE THINGS.  The ones I made for myself were made with flannel on one side and chenille on the other.  Since that post, I have discovered that chenille is hard to come by and is not sold in ANY local fabric stores in my area (so sad).  So the burb clothes I made for the April baby were made using pre-fold cloth diapers available anywhere (I happened to buy mine at Target).  

If any of you know me, you will know that I am painfully slow at deciding on gifts.  PAINFULLY.  I take a long time to buy gifts for people because I really want them to be personalized (as much as possible) and I want people to know that I put time and effort into their gifts (especially for new babies and weddings).   So that being said, I made these burp clothes for the new momma so they were not “girly girl” because I know this momma likes more gender neutral items.   I spent a good month shopping for the perfect fabric to pair together.  Not only does this fabric fit my requirement to be gender neutral but it also fit the new momma’s nursery theme of animals.   Nailed it.


It is hard to imagine but these are even easier than the burp clothes I made for myself.  I made these while trying to get my own baby out of my body.  It was day three of being overdue and I was sick and tired of being pregnant.  I thought a good sewing project might get my own baby out of my belly.  While sewing these I was dancing to Jimmy Fallon and Justin Timberlake's skit, “History of Rap 2”.  Over and over and over and over again (seriously, no joke).  While I didn’t think the sewing would work, I thought FOR SURE Jimmy and Justin together would push that baby right out of me.  No luck.  I hope they won’t be offended, in fairness actual labor didn’t get that baby out of my belly either. 


Anyway, back to the gift.   Super easy!  After you wash and dry all your fabric (including the cloth diapers, the only time I hope to ever use a cloth diaper), you just cut a piece of flannel one inch longer and wider than the finished product you want.  I cut mine 18” by 6”, this allows for a ½” seam allowance on each side which I find much easier to work with than a little ¼” seam, but you choose what is easiest for you.  Press your hem, pin onto the diaper, and sew.  That’s it!  Like a said: super easy. I promise.  If you feel like you need more directions, check out this great blog post by Petite Lemon. 

You can make these faster than you could read this blog post (well almost).  Later I’ll be showing you a “girly girl” gift that I made for the next baby girl.