Showing posts with label Cards. Show all posts

Wednesday, November 25, 2015

The Holiday Season is Upon Us


It's that time of year!  Gift giving is just around the corning and I'm so happy to have one major item checked off my gift list; my mother in-law's annual calendar.  I thought I would share the pictures of my 2016 version here because, you know, its been awhile since I've check in here with something crafty.

No doubt about it.  Three kids is kicking my butt.  Something has got to give and most days that my sanity....but.....not today!  Today I'm checking items off my "to do" list left and right!  Boom!

Ok, about this calendar.  Most of my supplies are from Papertrey Ink but I did get the digital calendar off of etsy.  If you love it as much as I do, you can buy one here:  505design .  Isn't it the cutest?  I love all the nice bright colors.  Most of the patterend papers are from various Etsy shops, if you see something you are dying to get your hands on, contact me and I'll send you a link to the shop! 

Without further ado, enjoy!


Well, that's a wrap!  I'm in love with this version of the calendar and I hope she loves it just as much!

And now, one more item to cross off my "to do" list.  Cheers everyone!  Enjoy Thanksgiving tomorrow with family, food, and a Packer WIN!

Till next time, PEACE!

Tuesday, February 3, 2015

Cards for In-Betweeners


So my six (almost seven) year old has hit that age where he isn't a baby anymore but he isn't a grown up either. He's what I am calling an in-betweener. In-betweeners don't cry when the nurse gives them a shot because they're tough, but they cry when their mommy doesn't make Mac n Cheese because....well....they can. In-betweeners don't like superheroes because those are for babies but they watch Sesame Street when nobody's watching. In-betweeners don't kiss their mom goodbye at school but they kiss their mommies goodnight at home.

Aweeeee, Ooooohhhh, how I love my in-betweener and all the sassiness that comes with him. Finding cards to fit this age group can be challenging but I think I designed a few that will work for this age group and I thought I'd show them to you today.


I have found that kids of all ages LOVE balloons and so I thought a card full of them would make any kid smile despite their age. For this card, I used the Sweet Cheeks stamp set from PTI to make some animal shaped balloons to create an in-betweener card with a stamp set that would normally only work for babies. This helps me get more bang for my buck with this set! Double duty, right?


The next card was created using the Bubble Talk stamp set. This set screams in-betweener and teenager alike! This card would be perfect for those kids who just got their own phone or anyone with a bit of sass in them....speaking of phones, I says a lower El student with a phone today.....TOO YOUNG! To make this card gender neutral, I stamped it in primary colors and covered up the heart stamp with a star. This gives me the ability to gift this to approximately 50% more people and let's face it, with three boys in the house and no girls, I'm more likely to need this for a boy! Score again!


This card uses the Simple Stars stamp set with the corresponding Stars cover plate. I love this card because not only does it work for kids, but I can use it for adults too. These are the types of cards that are great to have on hand because it works so well for everyone.


Last but not least, I have this CAS card that uses the Random Stripes stamp set and a die from the Birthday Trio die collection. Again, another card that works well for either gender and any age because of the layout and color sceem.

Ok, that's it for me, I need to go check MY in-betweener's attitude!  I hope I've inspired you to create a few cards for the in-betweener in your life!

Ta-ta!

Ericka

Thursday, January 8, 2015

Knee Deep


It ain't no joke.  During this maternity leave I am knee deep in poop.  I'm changing dirty diapers on some kid left and right.  I can't keep up.  What are they eating?  I swear someone with an axe to grind with me gave my kids a laxative when I wasn't looking and now that person is peaking in my windows and laughing at their handy work.

It's ironic because after delivery most women can't go.  Those of you with kids know exactly what I'm talking about.  For the next week after delivery all you want to do is go to the bathroom but you can't.  Yeah, that's right people with no kids: you can't poop.  It's your body's last "ha ha" of pregnancy.  Not being able to go #2 doesn't sound THAT BAD....maybe even quite possibly a way to free up some spare time (but then when would anyone get any reading done).  But not being able to poop is no joke, people!  No joke.  Man, I was only a push away from calling it quits and driving myself to the ER this third time around.  Luckily my body took pity on me and starting functioning again. 

The ironic part is, while you're sweating it in the bathroom, your wee little precious newborn is pooping for the whole gull darn neighborhood.    My precious little Thomas was pooping up to twelve times a day that first week, while I cried and swore like a sailor every time I went to the bathroom. Alright, I am WAYYYY over sharing, but it is all in the name of humor.  What else would I talk about here, crafts?


What does all this talk about poop have to do with my card?  Well, during this last diaper change.... times two poop-filled {lovely} children.... I was thinking I could really use some alcohol.  Alcohold sure would make the day go quicker and would make these poopy diapers a bit easier to tolerate....butttt..... the kids are about to take their naps and I really want to stamp, I don't have time to drink...oh.... I got a great card idea and it fits the bill perfectly for this week's Make It Monday ChallengeSEE, I wouldn't talk about poop for no reason people!  I clearly had a point to this story. 


I got out the shakers + sprinkles dies again this week and thought I would make some bubbles to go along with my new Uncorked set.  Yeah?  You see them?  I know, I know, wine doesn't have bubbles, champagne does.....don't get hung up on the details, please?  I think this is a swell card, despite the technicality and any of your friends that are knee deep with their own problems will think so too!

Cheers!

Tuesday, January 6, 2015

Happy New Year With Sprinkles


The kids are currently napping which in and of itself is a small miracle so that gives  me a few minutes to show you what I did with the MakeIt Market Kit: Shakers + Sprinkles.  When I saw this set come out I just HAD to have it (yes, at the expense of my oldest going to college someday as my husband would so lovingly say to me)!  It looks like a lot of the rest of you wanted this set too as I waited a good month for this baby to come in the mail.  Once it arrived, it sat.  And sat.  And sat. Oh, and it collected some dust, well a lot of dust.  Leave me alone, my house is messy, I just had a baby 7 years ago, and 22 months ago and 7 weeks ago.  I have no time for cleaning, I'm busy stamping and blogging....oh and ignoring a kid here and there.  

In December, I finally took this bad boy out of the packaging and started to play with it.  I apologize to those of you that wanted it and never got it and then I got it and just let it sit without being used.  What a waste.  I'm a shame to the acrylic stamping world and I will hang my head in embarrassment when in public.  Hopefully my husband will still stand strong by my side (I asked, he said "no, not even I can look past this disgrace"...actually he just said, "what" and I replied, "never mind".  My made up version is funnier anyway).  Oh well, who needs a supportive husband when you have SPRINKLES!

Ok enough already.  Back to the real business at hand.  The whole concept behind this set is that you can create shaker cards easy peasy with the included dies.  While these cards are not "quick" because you need to run a few pieces through your die cut machine, with the help of the dies, they come together easier than trying to free form this as so many of us were doing before this set arrived.  I love my first card but I put nowhere near enough sprinkles inside of it and the static electricity of this dry winter house caused my sprinkles to not move freely (and does a number on my skin but nobody wants to see that).  Anyone else have that issue?  Any suggestions?  I did see someone mention using a paint brush with some baby powder on the exposed sides of the foam adhesive once you have the shaker put together to help the sprinkles not stick to any exposed adhesive.  I thought that was a great idea.  Will that also cut down on the static electricity?  Maybe I'll try it and let you know. Please comment if you have a solution to either of my problems:  static electricity and dry winter skin!


This next card uses the same set but is a snap to put together (I tell you this in case you have a baby crying and you just NEED to get a birthday card done before he eats, social services would be understanding).  Even though it comes together super fast, it is still super cute and I bet would put a smile on anyone receiving this in the mail! 


Here is the last card I wanted to show to you today.  I was going for that poster print "Keep Calm" look that is everywhere right now.  There is no avoiding it.  Keep calm and walk your dog.  Keep calm and have some ice cream.  Keep calm and blow your nose.  Seriously, there is a poster for everything and everyone.  Just pinterest it if you don't believe me.  Is that a THING or did I just make up the next hottest saying?  Just so you know, I was also the first to say, "google it".  I really should take out a TM like Donald Trump did or tried to do with, "You're fired".  Seriously, that's a thing, google it.  :) 

I hope I provided you some inspiration to break out your stamps and create something and maybe (just maybe) made you chuckle along the way!

See you soon! 

Friday, December 26, 2014

December 2014 PTI Blog Hop: Silver and Gold


Updated to add a daylight pictures!  Much better!


This month's Papertrey Ink Blog Hop challenge is to create a card using both silver and gold elements on it.  I knew exactly what I wanted to create and quickly whipped up this card using some silver and gold embossing powder. 


Sorry for the terrible pictures, I'll try to re-take them tomorrow using some natural light!  I had this card done a few days again but the holidays happened and here I am just minutes from the blog hop closing trying to quickly get this posted!  Ugh, I bet I'm the last entry!  :)


After embossing Mr. & Mrs., I added gold card stock to make it all come together!  I hope you enjoyed this month's challenge as much as I did!

See you next time!

Thursday, December 25, 2014

Merry Christmas


Merry Christmas and happy holidays from our family to yours.  Just a quick post today to show you our Christmas card for 2014.  I don't know about you but I love getting everyone's Christmas cards in the mail especially those that are handmade or have family photos on them.  They are all so lovely.  I love watching everyone's family grow from year to year.  I keep the good ones in my Christmas card box to look at each year.


I also love making our Christmas card, it's something that I look forward to every year.  And while it can take some time to create, it's something that's important to me.  With a newborn at home I knew this year's card needed to be quick, easy, and simple.


Thanks to my friend Jesse's mad photography skills, that was easy to achieve with this card.  I knew I wanted this photo of my three boys to be the star of the show.


I printed the photo out in black-and-white, cut it to size, and added a simple stamped greeting on the bottom.  Despite it being quick and simple, it is still beautiful, right?  Of course it is with those three boys on it! I wanted to show you that during this busy holiday season, if you keep it simple, you can get handmade cards out to all your loved ones with just a bit of planning and a couple spare hours.


I fit this in while the kids were napping over the course of a few days (I used to sit down and make them all in one day,but I don't have that much free time in one day any more).  I addressed some and postal stamped all envelopes while the kids were napping in the minivan, which I love (BOTH the minivan and the kids actually napping!).


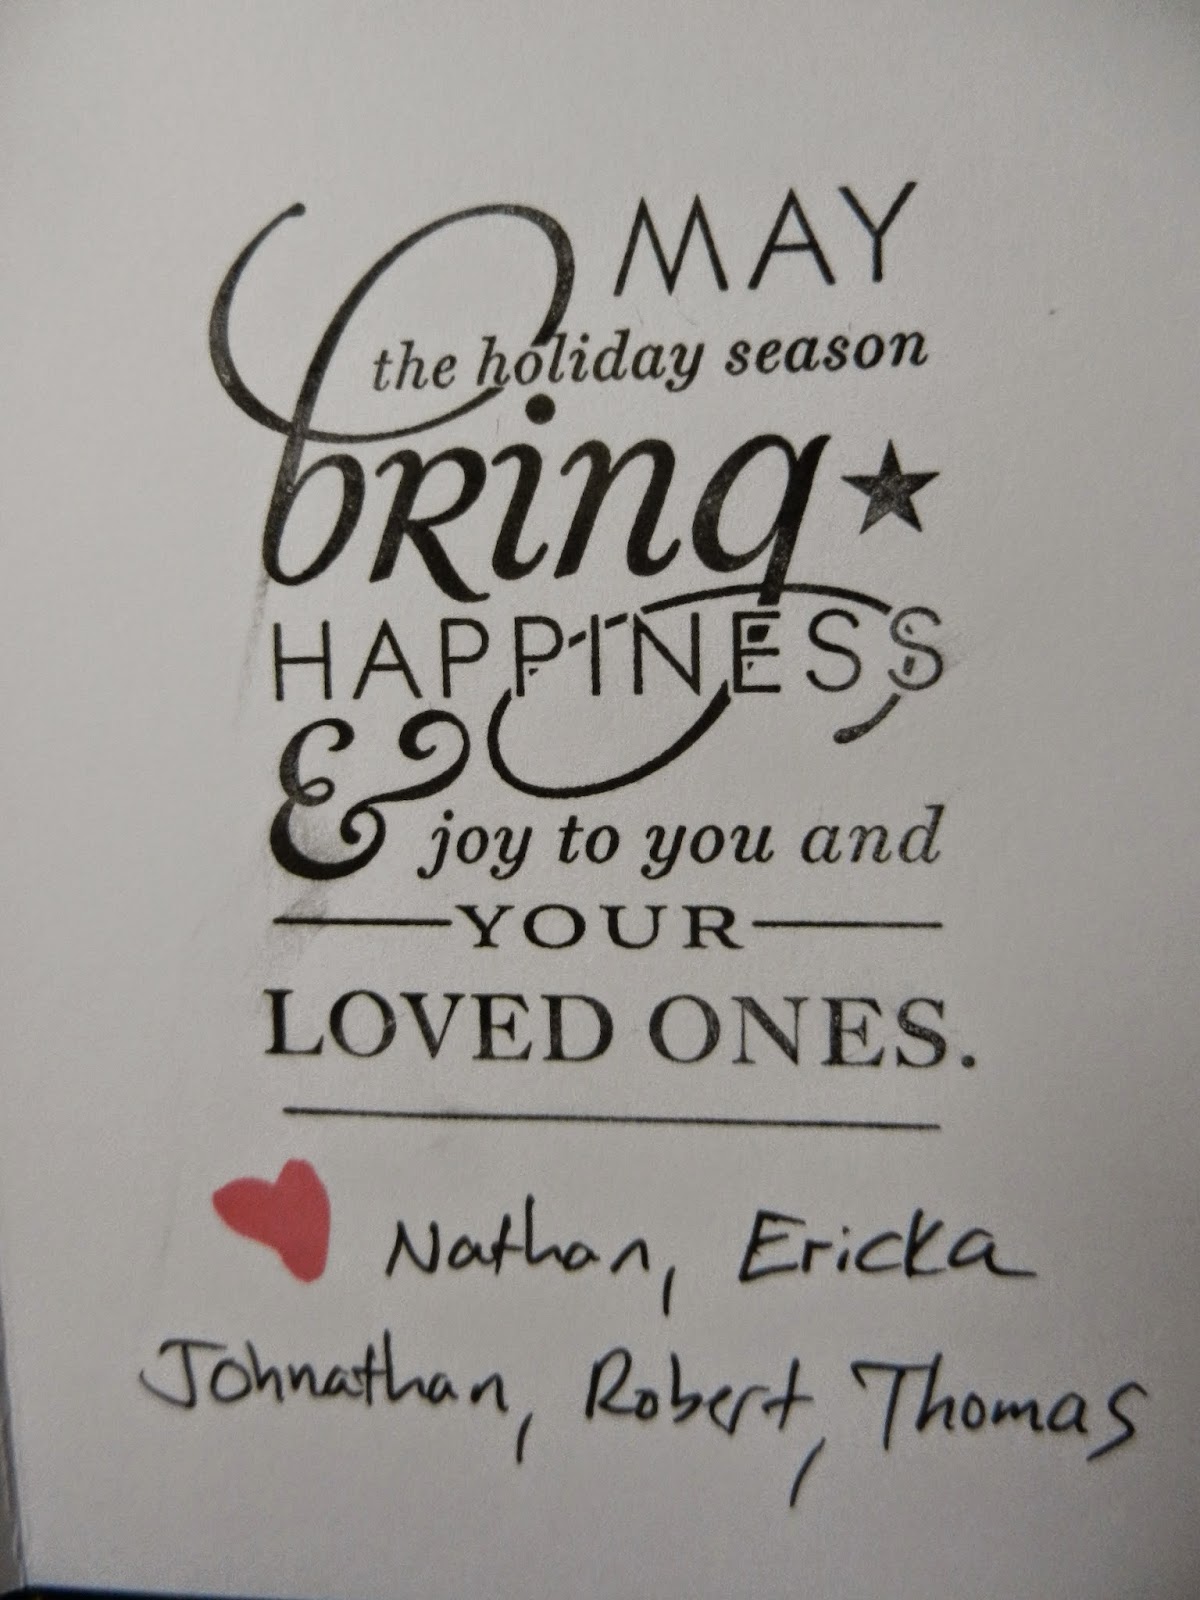
The interior of the card was kept simple too.  I typed up a couple quick sentences about each of us and what this past year has brought to us and glued it to the inside.

The most time-consuming part of this card was writing all five of our names on the bottom before
sending them out to all our family and friends.


Well I'm sure this is my last post for the year so have yourself a happy holiday and see you in the new year.

Peace!

Thursday, December 18, 2014

Birth Announcements


Hi everyone!  So I have decided to declare one day each week during my maternity leave my crafting day.  Yep, that's right.  In between baby feedings, diapers, and utter chaos, I'm focusing my attention on crafts, my full on attention!


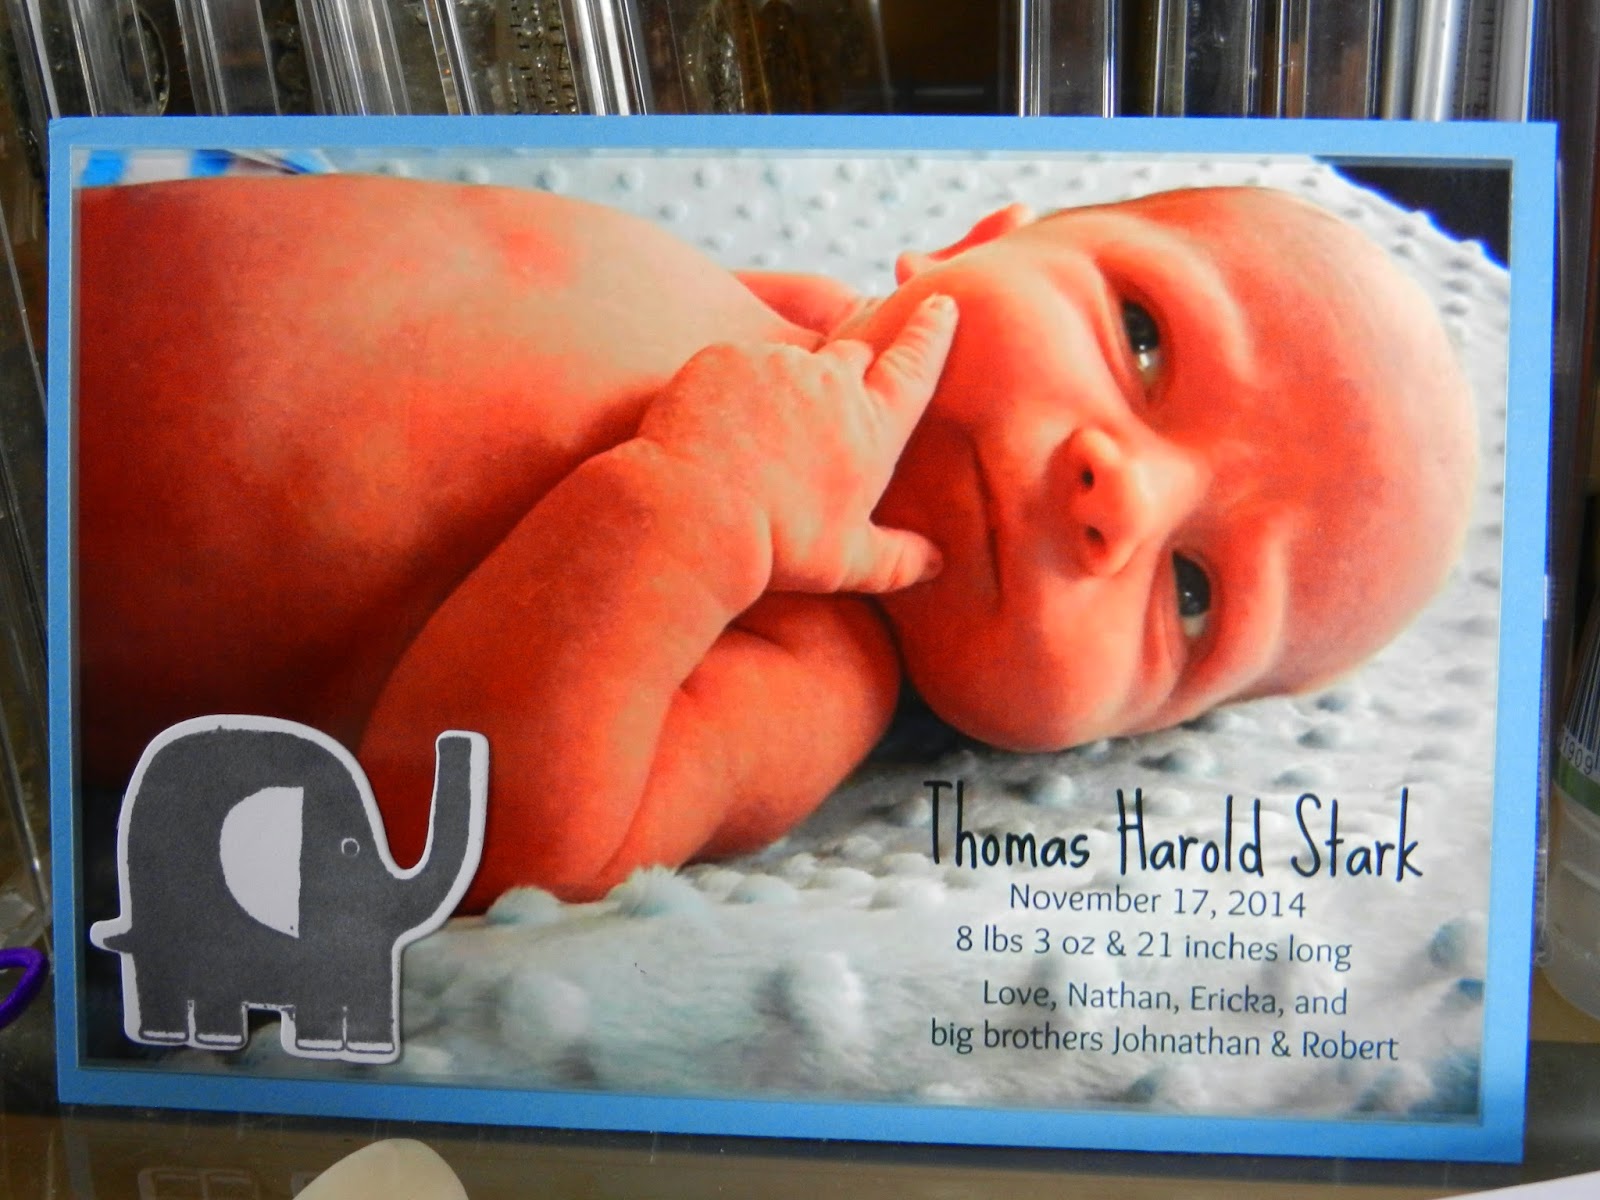
 Today I thought I would show you the birth announcements I made for our new addition.  Let me just start out by saying, I'm so disappointed in Shutterfly and Walgreens.  These pictures are really orange.  They are not quite as orange looking in person as they are in these photos but they are still pretty orange and they cropped off the border we made on them, but since I printed 50 copies, I wasn't about to have 50 new prints made and waste another $10.  Lesson learned, next time print a test copy! He is still pretty darn cute :)


Anyway, look past the orange and at the cute subject matter.  What a cute little ham, right?  He did this pose all on his own, no set up folks, I promise.  He looks so much like his father here, pose and all. I can tell already that he is going to be a deep thinker just like his daddy (that's probably a good thing because this house can't handle another talker!). 


Anyone else sad when google went away with their photo editing options?  I loved using it to add words to pictures.  It was great for novices like myself who find Photoshop too overwhelming.  I have found Picmonkey to be a great replacement though!  If your looking for basic photo editing options, check out that site, I use their free version but they do offer a paid option that gives you even more choices.  I used their site to add the text to his birth announcement.  


The cute little elephant stamp comes from Echo Park's Little Man line.  I'm using this whole product line for Thomas's first year scrapbook.  This little guy adds just a touch of bling. 


I was a little particular about how Thomas was going to lay and it was driving my hubby a little batty.  But I knew that I was lining all three boys together in our hallway in these frames so I wanted there to be some cohesiveness (two boys laying to the right, one to the left).


I told him, this picture is going up on the wall and we will be looking at it FOREVER so let's make this right.  All three boys are now lined up together in the hall way.  They look great. 


Taking a nice picture of these frames was nearly impossible given that this is a dark hallway that gets relatively little natural light so again, forgive me.  With three kids eating up all my free time, it is what it is!


Here's a far shot.  The photo's are sandwiched between the bathroom and Robert's room.  I love being able to walk past these everyday and see my cute little babies all together.

Well that's it for this morning!  I have a naughty one year old to go check on (and feed!).  


Saturday, November 8, 2014

Take Two: Christmas Cards


I got two more Christmas cards to show to you today.  This first one comes together pretty quickly with the help of Papertrey ink's Shaker Shapes Ornament Die.  I found this cute patterned paper on etsy which I affectionately like to call "ugly Christmas sweater". You can find it here:  Valeriane Digital.

Do you see that rain in the background?  It might turn into snow later this week here in Wisconsin, I say, that's a sure sign my baby is about to come! 


I love the red and teal colors paired together on this card for a non-traditional twist and with a simply saying stamped in red ink, this card is simple but pretty.  
 

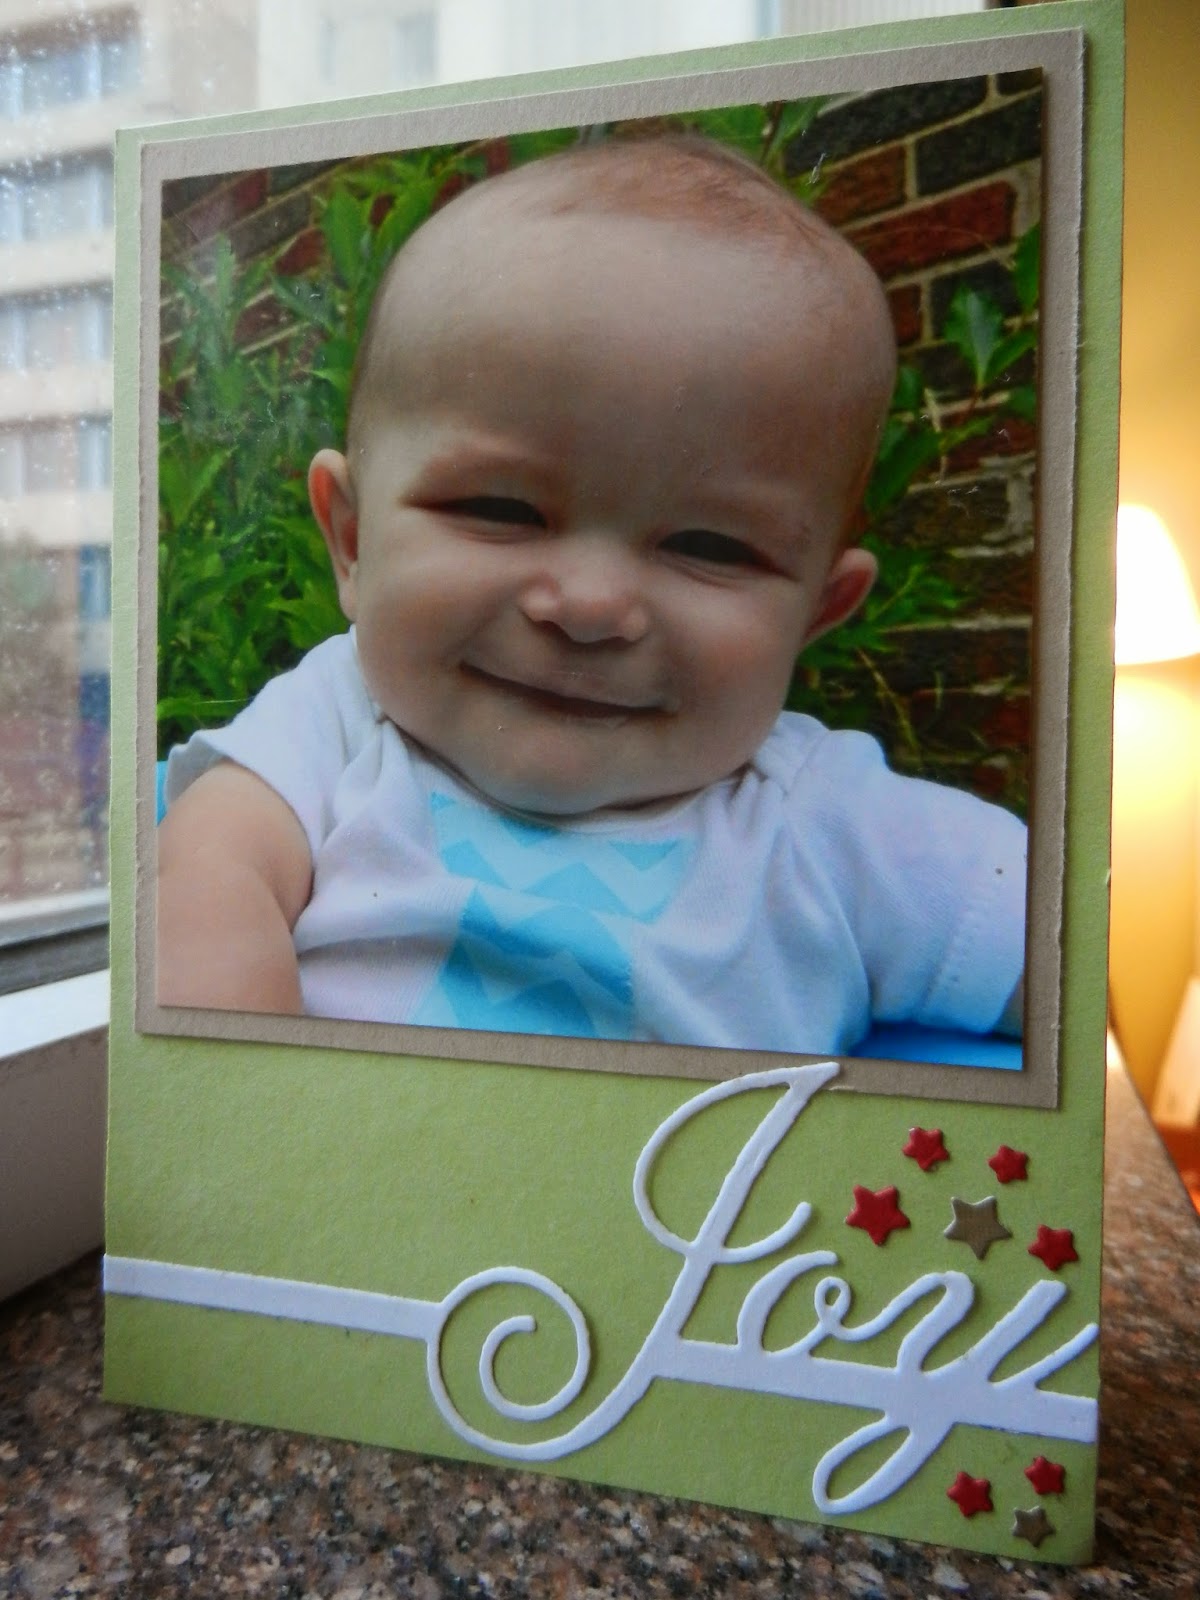
I've already told you all how I love photo cards at Christmas.  I just love the simplicity of this design, it really lets your photo do the talking.  Who wouldn't love to get this cutie in their mailbox this holiday season ;)


The background is in a light green card stock and Papertrey Ink's photo finishers "joy" is surrounded by red and gold stars.  The stars are just enough of an accent to dress up this card without making it feel too busy.  

I hope these cards inspire you to get out and do some crafting this weekend!

Wednesday, November 5, 2014

Christmas Card Season


It is November and you know what that means: it is HOLIDAY TIME!  Yes, that's right folks, stop your mumbling, Christmas is only a short 50 days away!  I love this time of year, especially now with little tiny ones at home.  It is so fun to see how exited they get as Christmas draws closer.  I saw my city was putting up the holiday street lights on Monday night so I took that as a sign that it was time to break out my stamps and create some holiday cards for 2014.


This card is just the cutest.  I know, I am biased but there is some serious cuteness going on all over this card.  I love holiday photo cards but they are so darn expensive.  This home version costs a fraction of what you will pay if you have a big box store or online retailer make it for you and as a bonus you get bragging rights because you made it with your own two hands.  It is economical because the photo is sized so that two photos can actually fit on one 4X6 print and cut to size, meaning you only have to print half the number of photo prints needed for your total amount of cards.  For this mom on a budget, that's importantante (that's Spanish for necessary!).  
Grandmas and families especially love these types of cards.   These types of cards tend to hang out on refrigerators long after the season has past and that's exactly how it should be, you get a lot of bang for a little buck! 


Isn't this card screaming quintessential Christmas?  Poinsettias are just the perfect Christmas flower and paired with this pretty white polka dot paper, how can you go wrong. 


A little white sequent was added to the middle of the poinsettia to polish off this card.  These cards come together super fast as it is just a matter of layering the pieces together and adhering them to a standard A2 card.

This card makes me want to break out the Christmas decor and get the house all nice and pretty for the cozy winter nights that are ahead of us.  Oh and this year I get to do that snuggling a newborn, lucky me. 

I had another card created but my little one year old ran off with it and I can not find it anywhere.  ANYWHERE.  I've looked through garbage cans (I often find my stamp sets there), in clothes drawers, under blankets, it is NO WHERE.  What a stinker, I bet it will reappear on December 26th!  Oh well, I guess that means back to the craft room I go (oh darn, twist my arm). 

Stay tuned for a couple more designs in the next couple of days, in the mean time, I hope you start finding some holiday inspiration while you are out and about this week!